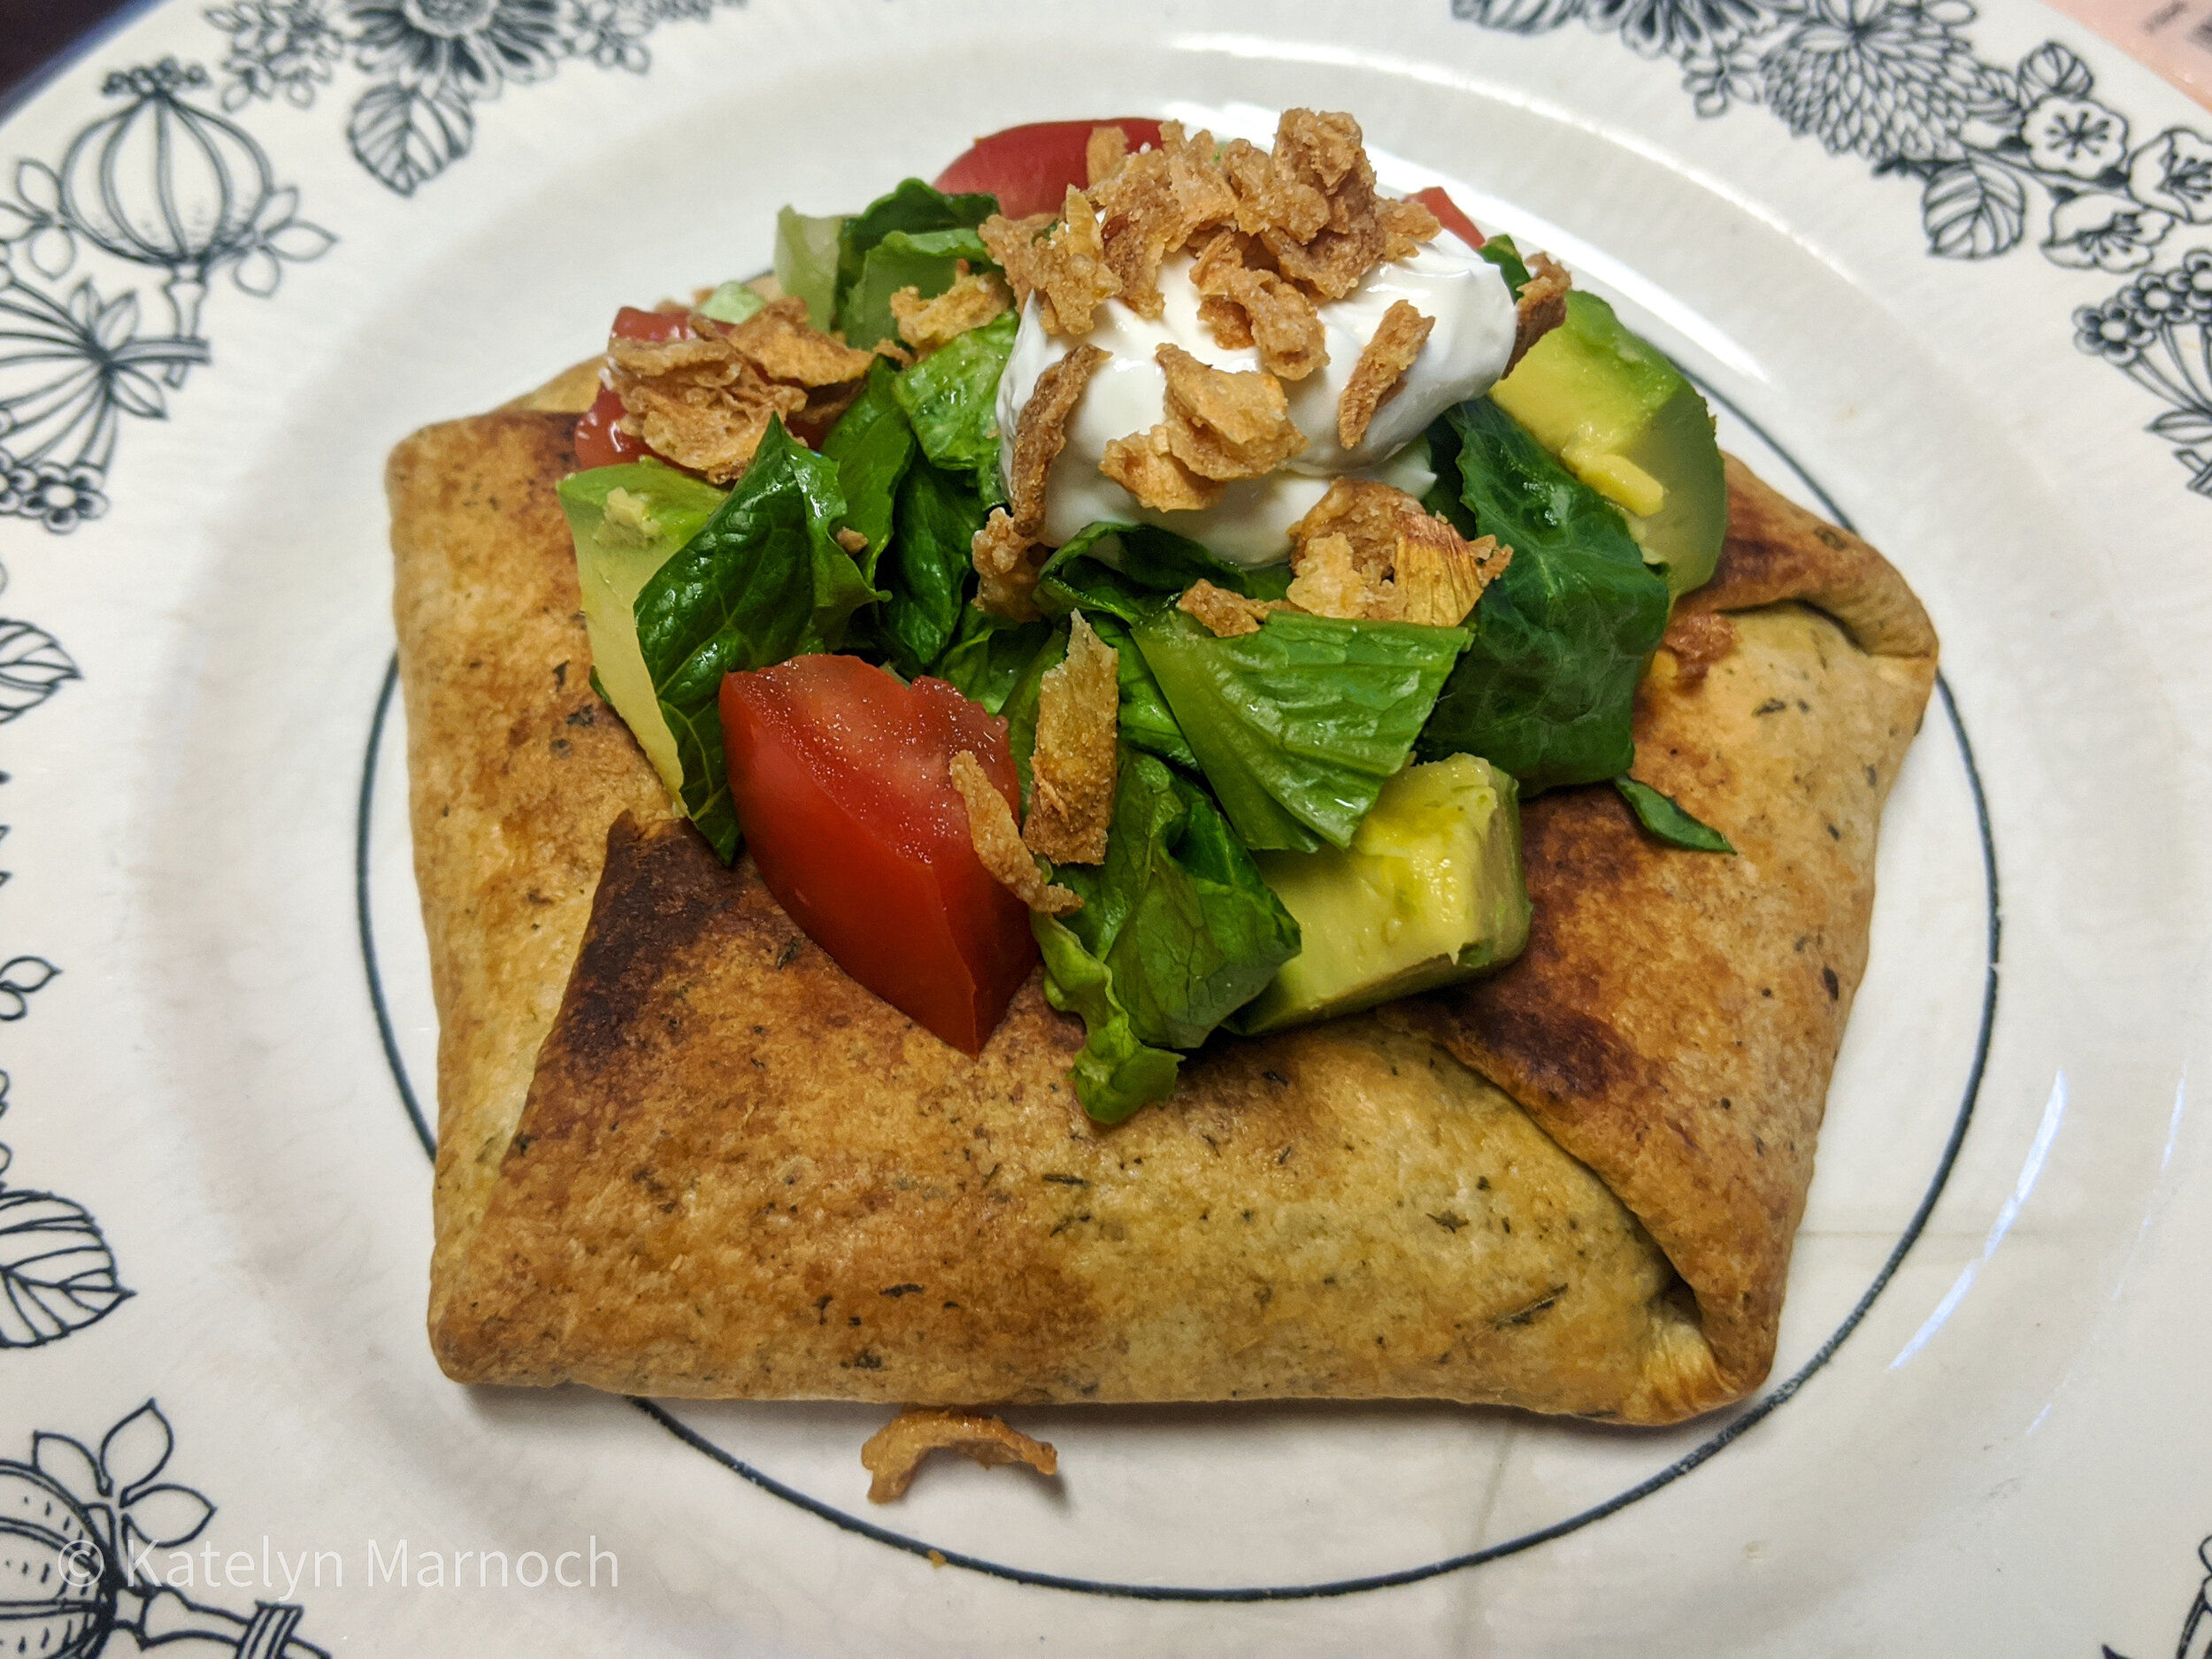
Crispy Crunch Wrap
Written and Cooked by: Taylor Holmes
Photography: Katelyn Marnoch
Tacos are tasty, nachos are nice, and burritos are beautiful but crunch wraps? They’re a whole other level. This flat disc of deliciousness will blow your mind. The utility of a burrito, the crunch of a nacho, and the diversity of a taco, all while keeping your fingers clean, and your shirt stain free.
crunch wraps are also a great way to stretch out your fillings. Ever end up with leftover refried beans, taco beef, chipotle chicken, or barbacoa, but not enough to make a real meal out of? crunch wraps are a great way to stretch what you’ve got and leave those you feed (your belly included) sufficiently suffonsified. For this particular recipe, I’ll be stuffing my crunch wraps with taco beef, but you can really fill it with anything you’ve got. This wonderful wheel of a meal definitely does not lack in versatility.
First thing’s first: Choose your ingredient portfolio!
Pretty much everything is interchangeable, but I’d recommend having at least one sauce of thicker consistency (sour cream, salsa, queso spread, guac, etc.) to layer the bottom with to help prevent displacement when pressing the crunch wrap later, and some sort of cheese or cheese alternative to use as the delicious melty glue on the top.
Any sort of meat you decide to put in to your wrap must be fully cooked in advance. You will not properly or safely cook meat from a raw state while doing this, as the other ingredients will burn long before.
Clockwise from top left: taco beef, hot salsa, sour cream, spinach tortilla, hard shell corn tortilla, cheddar cheese, Spanish onion, Roma tomato, and avocado.
Once you’ve selected your array of delicious produce and proteins, you can begin getting to work. You’ll want to start by layering your soft tortilla with your thick sauce. The larger the tortilla, the easier it will be to work with later. Next, you’ll add your hard shell tortilla. I prefer to break it in half and center it. This will serve as the bottom of the crunch wrap, so everything you add should be piled exclusively over the hard shell.
If you plan to bake your crunch wrap, you will want to preheat your oven to 200C/400F.
Once the grounding layer has been established, you may start piling on your delicious innards! The order here doesn’t matter as much, but I would suggest putting the wet or viscous ingredients near the top of the pile. It’s important that you moderate the amount of ingredients you stuff in to your crunch wrap, as too much can lead to a big opening on top, and make your crunch wrap a mess. Remember, you can always eat more than one!
However you choose to fill it, it’s important that your cheese, or cheese substitute, is the top ingredient. This will end up melting to create a nice tight hold, and a delicious cheese crust for the small opening exposed on the top of your crunch wrap.
Next step is the folding*. This may take a little bit of practice, but it’s a pretty easy technique once you figure it out. Fold one side toward the center as tight as you can without displacing the ingredients. This fold will create a pointed crease on each side of the folded part of the tortilla. Fold each pointed crease toward the center tightly, same as the first, and continue all around until you have a tight hold. As soon as you’ve completed the folds, you’ll want to either brush the outside of the crunch wrap with a light layer of oil, or use Spray oil (which I’d recommend), then immediately put something heavy on top to weigh it down. I use a large heavy can of tomatoes or beans in a pan or on a plate for even weight distribution.
*A helpful tip when folding to prevent your tortilla from tearing or splitting, is to warm it up first. If you microwave it just slightly, or rest it on top of your preheating oven, it can make the tortilla very malleable and easier to work with without compromising the ingredients.
From this folded feast…
… to this pressed provision
While Pressing your first wrap, you can proceed to filling other crunch wraps and pressing them too. I’d recommend having your crunch wrap pressed for at least 3 minutes to really hold it’s shape. If you have a panini press, or a flat top grill, the actual cooking of the crunch wrap is made somewhat simpler. For those of you that are not equipped to have your wrap press-cooked so easily (like me), there’s another way!
Lay your crunch wrap on a lightly greased baking sheet or pan, with another lightly greased baking sheet or pan on top, greased side touching the wrap. It’s especially important that the top pan be greased, as any cheese that begins to leak out, will sear, forming a crust and sealing the crunch wrap instead of sticking to the pain, and creating a mess.
Bake for 10-15 minutes, or until you see the edges start to turn golden brown. Once they come out of the oven, the crunch wraps will be deceptively molten hot on the inside, so be very careful if you decide to taste one first!
Once your crunch wraps are all cooked up and good to go, you can garnish them as you see fit, and serve whole, or cut in portions!
Garnished and plated, voilà, your crunch wrap is served!


